Installing drywall is not a particularly tough job. However, ending up with a nice looking job that does not highlight every seam in the wall can take a little practice to master. It is always much easier to do a drywall job with an extra set of hands unless you are a professional. Drywall tends to be a little on the heavy side. Because of its 4 foot by 8 foot or 4 foot by 12 foot size, it can be a somewhat unwieldy to handle. Having a helper makes it much easier to lift and hold each piece into position.
Begin the work by measuring the size of the area to be covered. You will need to know the height and length of each wall. Compute the square footage of each wall and add everything together. If you are using 4′ x 8′ drywall, divide the total number of square feet by 32. This will give you the minimum number of pieces that you will need. If the wall lengths are not easily divisible by 4, you will need about 1 or 1 ½ extra sheets per wall beyond the number you came up with when you divided the total wall space by 32. If you have a lot of windows, subtract off the size of the windows when you are making your computations.
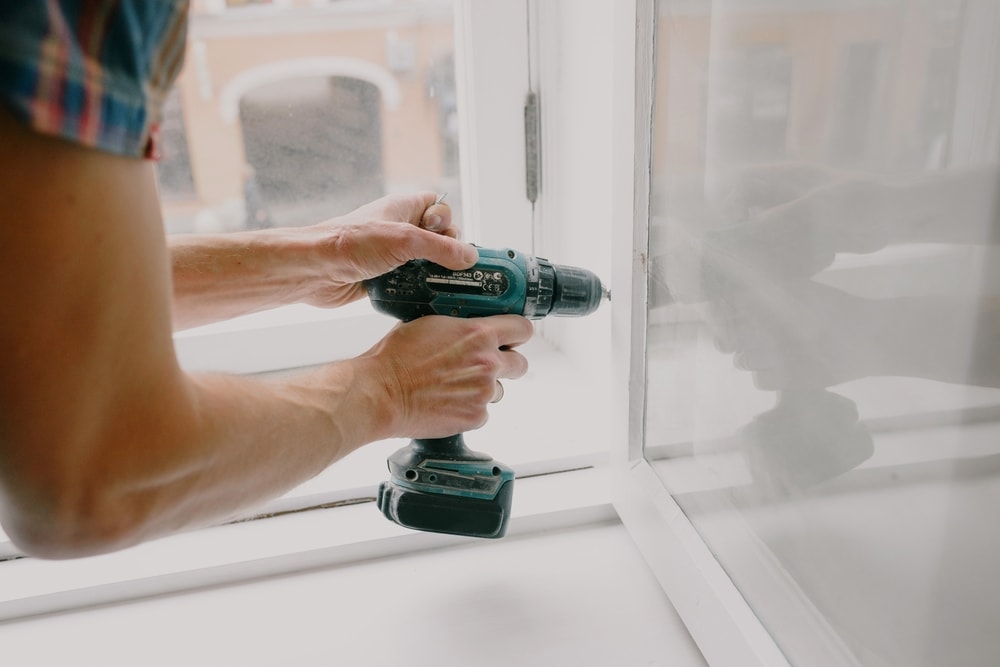
Figure the length of the perimeter of the room. You will need about 3 times this length of joint tape. For a small job like one room, just buy two boxes of premixed drywall cement. You may need more than this, but two is a nice number to begin the job. By the time you run out, you will probably have given every joint at least one coat. This will let you judge how much additional, if any, that you will need.
You will need about a 6 inch wide drywall knife to spread the joint cement. You will also need a very sharp and sturdy utility knife to cut the surface of the drywall. Buy a good quantity of 1 or
1 1/4 inch drywall screws. The job will need at least 5 pounds even for one room. You do not want to scrimp on screws. Make sure that your cordless drill is ready for driving screws. An electric drill will also do this, but the cord can be a little inconvenient.
Getting a chalk line can help your job quality. For sanding the seams, you will need a good sanding block and several pieces of mesh material that is made for this use. Buying a block with an attachable handle will be even better. If you are not familiar with this, just talk to the people at the supply store. They will help you.
Before beginning the installation, make sure that the studs are clean and free of projections or nails, etc. If you intend to insulate or put up a moisture barrier, now is the time. This should all be completed before you screw on your first sheet of drywall. All electrical wiring, duct work, or other inside the wall work should be knocked out prior to the installation.
Most drywall hangers recommend putting the sheets up horizontally rather than vertically. Also, start at the floor and go up. You need a couple of spacers about ½ inch thick to place on the floor for the first row of drywall to rest on when you are getting it ready to install. This will leave a little space between the floor and the bottom of the drywall. This is important because it leaves space for flooring to be installed all of the way to the wall. The finished job will have this little space covered by the base board.
Measure up from the floor 4 feet and ½ inch. Do this in several locations. Use the chalk line and strike a line. Make sure that this line is level. If the floor slopes, you may have to get creative to overcome it. This generally is not a problem.
Using the spacers and following the chalk line, place your first piece of drywall against the studs. Bump it up against the corner where you have chosen to begin the drywall installation. Once it is in place and level, place a drywall screw in each stud along its upper edge. Now, put a screw in each of the bottom corners. You can either add a screw at each stud along the bottom and about every foot along each stud covered by the drywall now or you can come back and do all of the screws later. It does not matter which way you do this. As long as at the end, all of the screws are in place.
You make long cuts on dry wall by marking a line along the place that you want to cut. A good drywall hanger can hold the straightedge against the sheet and cut along it. If you marked the line, use your utility knife and cut through the paper coating and into the interior of the drywall a little. Cut along the entire length or width of the board whenever possible. Standing with the cut side toward you, tap firmly on the back of the drywall while putting pressure on the shortest end protruding past the cut. This should cause the drywall to snap. Bend it until a clear seam is showing. Cut along the paper on the seam to complete the task. If you have done this right, you should have a nice clean cut.
For small openings like an outlet or switch box, you will need to use a small saw or a jig saw to make the cut. This is usually a quick and easy job because drywall is a pretty soft material. Be careful to make close measurements before making any cuts because you can not glue this stuff back together. It will cause additional waste or more seams to hide. Neither of these are good.
Continue the installations and cuts until the job is complete. If you have to install a ceiling, always put the ceiling in first. This way, the edges of the ceiling will rest on the walls. It just makes the job go easier.
You will need to get your tape and mud ready to go. Using your 6 inch or bigger knife, spread a thin layer of cement along a seam. Now, reload your knife. Cover the seam with the tape. Use your knife to put another layer of cement over the tape. Try to feather the edges as much as possible, but do not get to particular at this point. Get enough cement to get everything covered along the seam and several inches on each side of it.
Mud and tape every seam. Now, you need to go back and cover every screw head with cement. The screws should be driven in far enough to be countersunk into the surface of the drywall. This will mean that you have a little depression to fill with mud. When you are finished, you should see a lot of one inch circles all over the wall.
Now, you are ready for the final steps. You will need to carefully sand all of the drywall cement once it has completely dried. The goal is to smooth it so that it disappears when you paint it or cover it. You will need to feel with your hands and stand to one side and look at it carefully to tell how this is going. If you are having problems making it look right, you may need to put on more cement and widen the seam covering even to a foot or more. A wider seam is easier to blend than a narrow one. It is a good idea to let the cement harden about a day before sanding it or sanding it again.
When you are satisfied that you have a good taping job, it is time to put away the drywall tools and get out the painting supplies. Should you see that you have left a seam a little too noticeable, you can always wait on the paint to dry and sand the paint away. You can then make the decision about whether the seam just needed a little more sanding, or you may decide it needs a wider spread on the cement. Either way, it can be done over after a coat of paint if you have to do it that way.